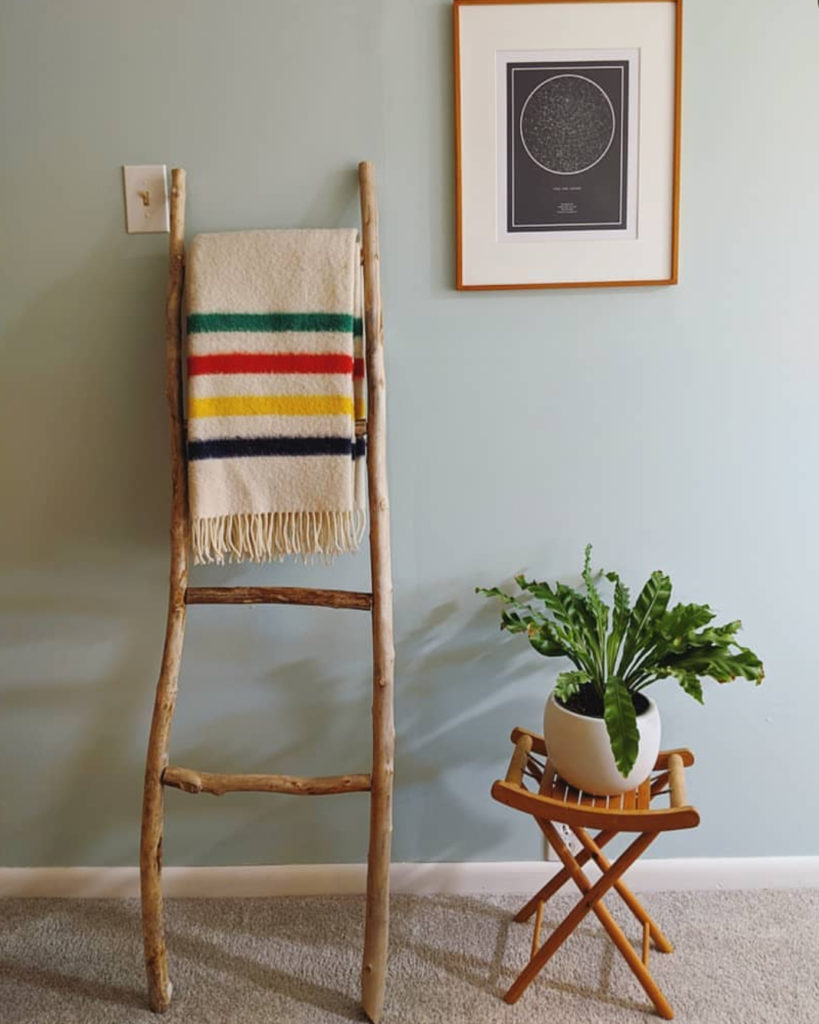
While we are all stuck at home (many of us with children), crafting is less a way to pass the time and more a necessity for keeping sane. Here's a fun project idea that manages to be be simple, inexpensive and chic all at once. All you need are some simple tools, some gathered driftwood, and (optionally) your favorite color paint. You can create a sturdy and trendy towel rack that will add some character to your bathroom or bedroom, make the perfect backdrop for Instagram selfies, and provide you with a few hours of entertainment while you make it! Driftwood comes in a variety of colors, shapes and sizes, so you can customize your piece to suit your space and your style. Keep reading for all the details.
This project comes from Mario Wanders, who constructed this driftwood towel rack from pieces found along lake Champlain in Vermont. The inspiration came from a pricey piece he found online and wanted to replicate inexpensively. You can use driftwood from your local lake or pond, or even rougher pieces or branches found in your backyard or a local park. With more rough pieces, you may just want to do some sanding so that the branches do not snag the fabric of your towels.

Start by laying out your driftwood branches, so you can start to visualize the layout. Obviously you will need two longer pieces of roughly equal length, and then many smaller branches for the ladder rungs. The exact height and width is up to you, depending on the size of your bathroom and your personal preference. That's part of what makes DIY projects so great, they are customizable! Once you have them all laid out, you'll want to grab a hand saw and cut the ends of the two longer pieces. Cut at a slight angle, so that the ends sit relatively flat on the floor once the ladder is leaning on the wall. You can leave the top parts as they are, or trim them to matching lengths, depending on how rough you want the finished piece to look.

There are a few options for the next steps, depending on how you want the finished piece to look. The first option (and the easiest for most people) is to simply cut the ends of the ladder rung pieces so that they sit relatively flat against the outer frame, then use a drill to push a screw through the outside of the frame and into the end of the rung. Repeat on the other side, and that will hold it in place.
For a slightly cleaner look, drill a hole on the inner side of the frame, and a matching hole on the end of the rung, then fill both holes with glue and one with a dowel rod. That will allow you to fit the pieces together without any visible screws. The third option is simply to place the ladder rung on the front or backside of the two frame rails, and use twine or sinew to lash the rungs into place, which gives the piece added texture but a rougher look. After you've chosen you're preferred method of attaching the ladder rungs, simply repeat for as many rungs as you'd like (3-5 seems to work best for most normal height ladders).

And... that's it! It's as simple as those steps above. Optionally to add some color and contrast, you can paint half of the ladder with the color of your choice, or paint the entire ladder to blend in with your decor. The last step is optional, and that's to post it on Instagram for us and the rest of the world to admire.
Source: Mario Wanders
